If you need help with certain steps in the job application process, or if you want to take full advantage of its many features, choose a topic from the list below. You can also visit our page of frequently asked questions.
Getting Started
Enable Screen Reader Mode
Screen Reader Mode allows the use of assistive technologies—such as screen readers—while using the job portal. You can turn this mode on and off.
Instructions
- Open the appropriate University job portal:
- Click the three-dot action icon in the top right white portion of the screen.
- Select Enable Screen Reader Mode.
- Select Yes when the pop-up appears.
- Click Return after the confirmation message displays.
Search for a Job Opening
The first page you see as an applicant is the Job Search page. You can use the keyword search at the top of the page to find words or phrases in the job title or job description.
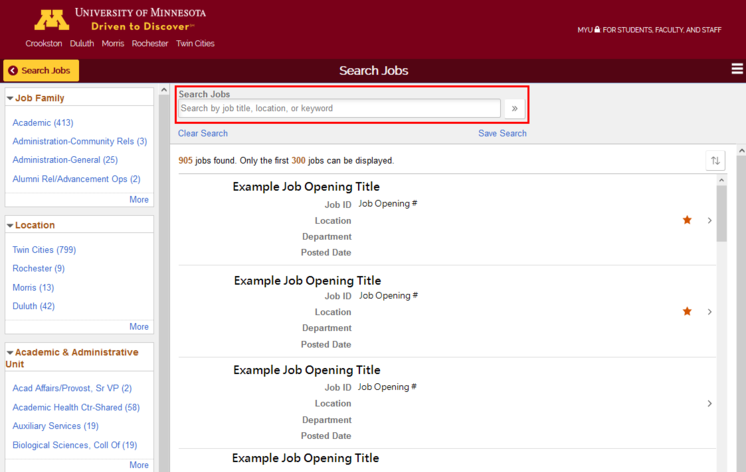
Use the filters on the left hand side to narrow down the job search results for positions you are interested in. Desktop example:
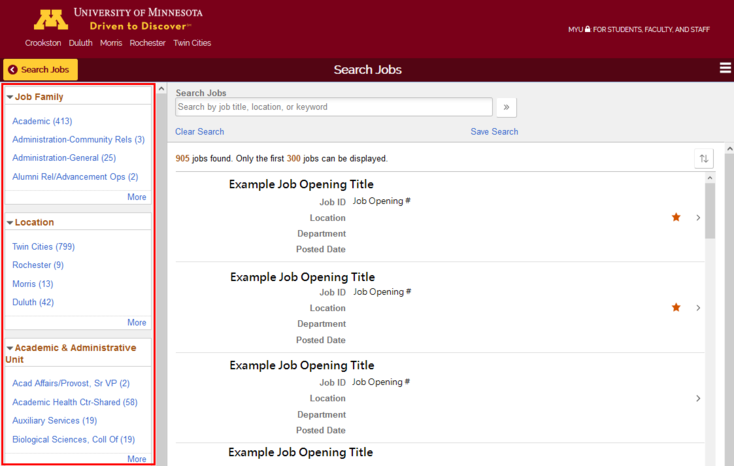
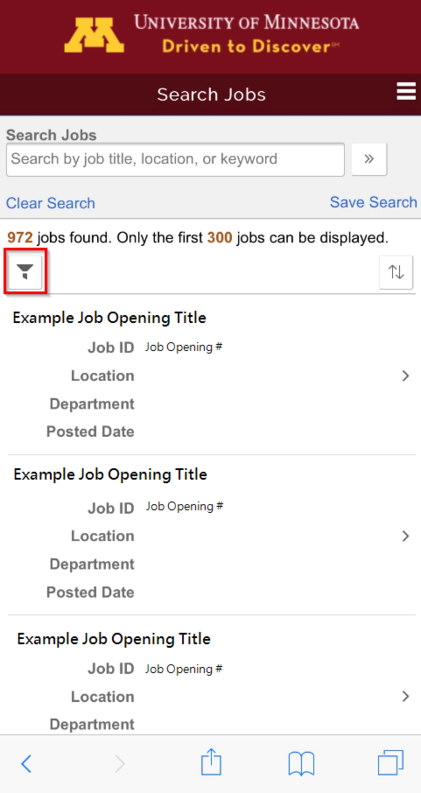
On mobile devices you might need to tap a filter or tab icons to expand this section. Examples:

Mobile version:
You can save your searches and receive notifications of new job postings that match your search results.

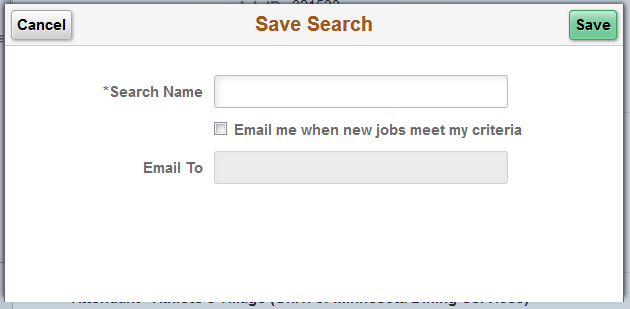
You must have an email address to receive notifications via email. Email notifications last for 180 days. You may reset a saved search to reactivate email notifications.
Search Results
Click or tap on a job opening to view more details. You may “Add to Favorites” to save a job, “Email a Job” to a friend to send a direct URL link to a valid email address, or “Apply” directly from the job details page.
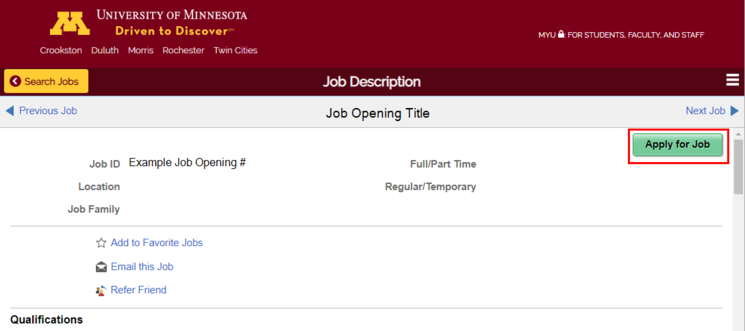
Apply for a Job
You may apply for a job opening by clicking or tapping on a job posting and applying after viewing the job description details.
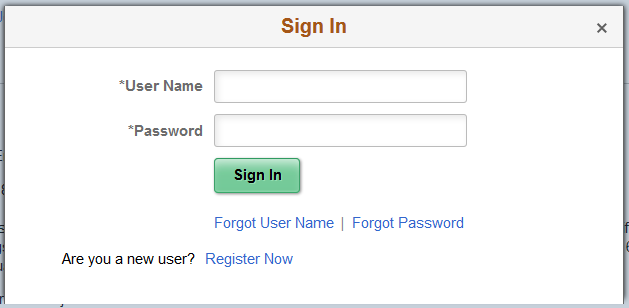
If you click Apply, and you are a new external applicant, you will first go to the Sign In page.
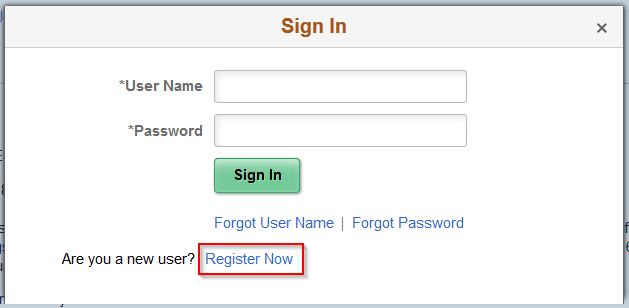
As a new applicant, click on "Register Now." If you have previously registered on our website, you may enter your User Name and Password and click the Sign In button.
After clicking “Register Now,” you will be taken to the registration page.
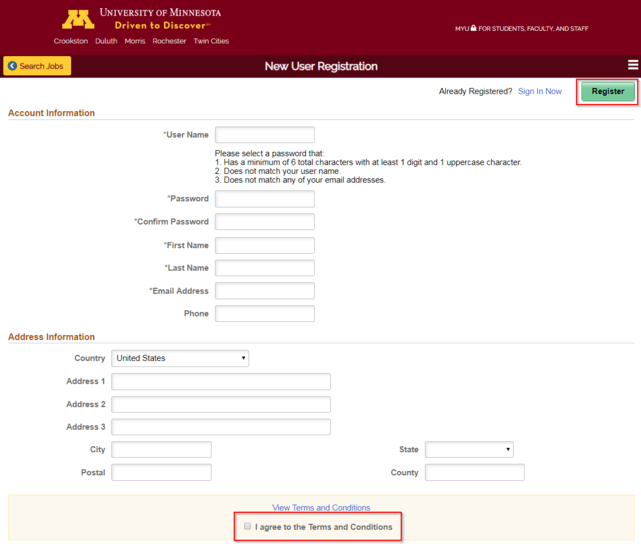
You will need to create a User Name and Password that meets the minimum requirements, then provide your name and an email address. You can also enter address information. Once you have completed this, click the check box next to “I agree to the Terms and Agreements” and click on the Register button at the top of the page.
Once you register, you will be guided through the steps of the applicant process. If a job opening has specific questions associated with it that you must answer, they will appear after the Applicant References portion of the application process.
Step One: Start
This is an acknowledgement that the information you are providing for the application is accurate and true. After you have read the Application Terms and Agreements, check the box verifying you have done so, and click or tap "Next."
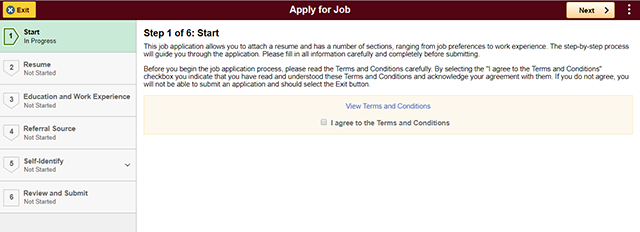
Note the “Next” button may appear as a right arrow on mobile devices and is always found in the top right corner of the screen.
You may also revisit previous sections by clicking on the step on the left-hand side. You will not be able to skip ahead in the process without hitting the "Next" button.
Step Two: Resume and Cover Letter
You will have the ability to attach a cover letter and resume to your application. The cover letter is optional, but you must select at least one resume option. Once you have a resume in the system, you will be able to use existing resumes for subsequent job openings.
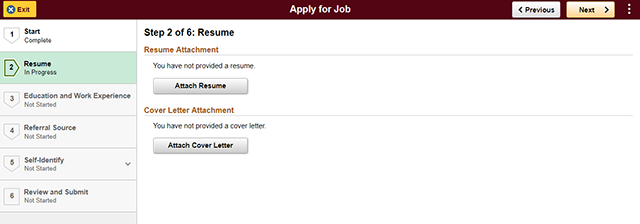
Click "Attach Resume" to upload a new file. The file attachment window will display.
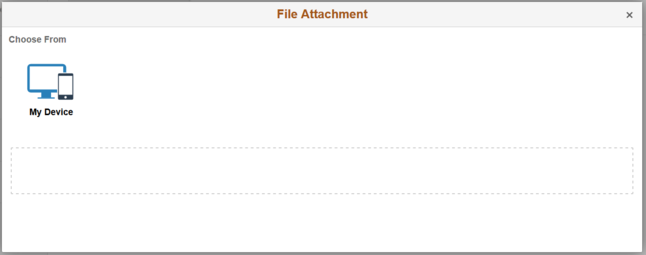
After clicking on the device icon, you can find the file on the selected device and click the upload button to attach your resume. Once you have done this, the document will appear.
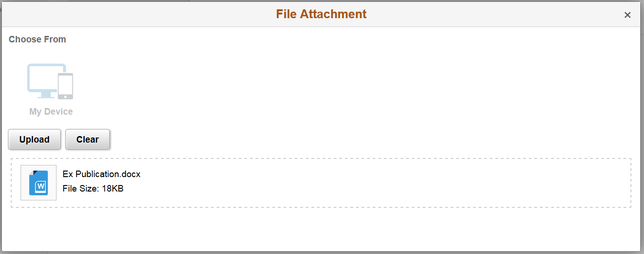
Once the file is uploaded, press "Done" at the top right of the file attachment window. You then will have the option to change the name of your uploaded resume.
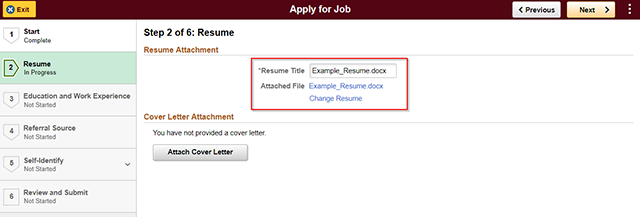
The upload process for cover letters is the same. Again, note that you do not need to include a cover letter unless the specific job opening instructions ask you to do so.
Step Three: Education and Work Experience
You may choose to enter your education and work experience. Please note that these are not required fields. If this information is found in your already uploaded resume or cover letter, you do not need to enter this information.
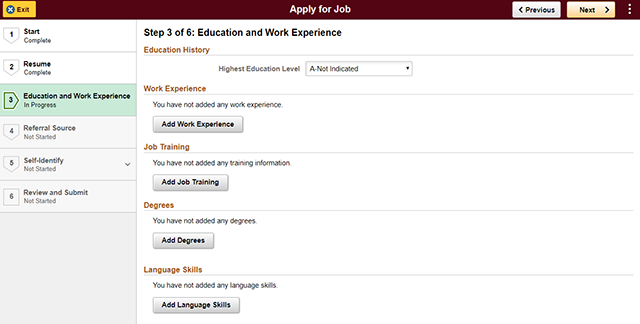
If you choose to enter information in any of these fields, it will carry with you for subsequent applications. Internal applicants who fill out the work experience fields will have to fill out new information each time they apply.
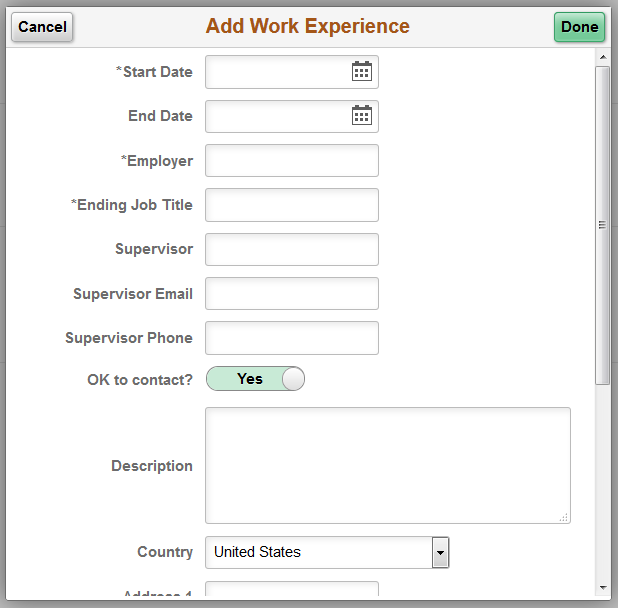
Add Work Experience
You may enter as many previous jobs as you would like.
Add Job Training
Job training courses and professional development training can be added here. School Name is not a required field and does not need to be entered if the training was not offered with a specific institution.

Add Degrees
You can enter specific degree information here using the look up functions for specific degrees or major codes.
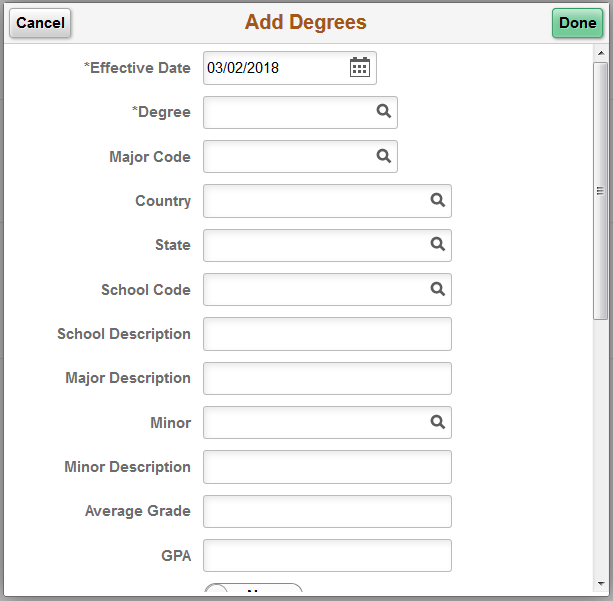
If you prefer to only provide the highest degree available without specific information, use the Education History section at the top of the page.
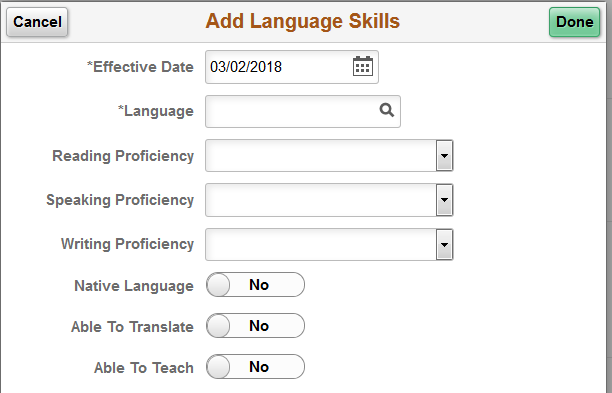
Add Language Skills
Lastly, you may enter any language skills you have. Note the language field is a look-up table. Rather than typing a specific language name directly into the field, click on the magnifying glass first to look up the language and then select it.
Step Four: Referral Source
The Referral Source indicates where you heard about the job opening. Click on the small arrow to the right of the first field to choose from a list of general sources. In the second field, you can enter the specific source if you like.
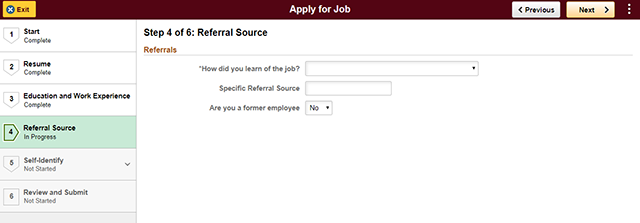
Note that the University of Minnesota does not have a systemwide referral program. Entering an employee's name and email address will not change your application in any way.
Click "Next" to continue to the next step of the application.
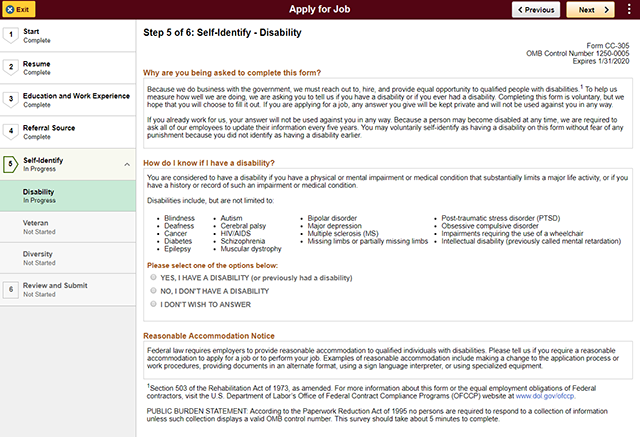
Step Five: Self-identify
There are three steps for self-identifying. The University of Minnesota is required to ask for this information, but it is optional for you to provide it.
The first page is to identify, if you wish, whether or not you have a disability.
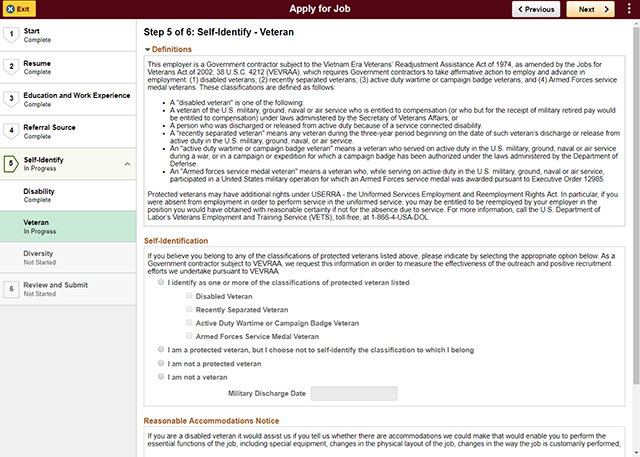
The second step is to identify whether or not you have a veteran status.
The third step is diversity information. Here you can provide your gender, ethnicity, and race. You may also decline to provide your details by clicking the "I decline to answer" checkbox.
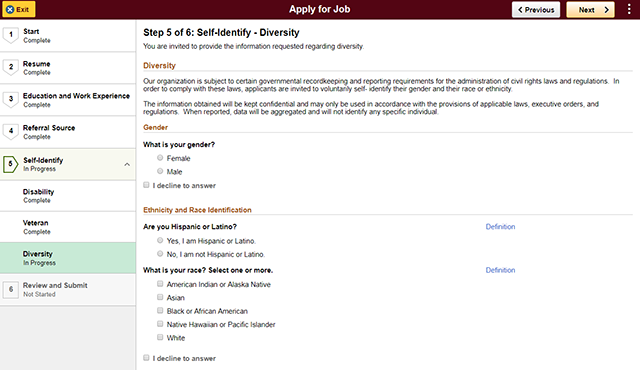
Click “Next” to move to the final step in the application process.
Step Six: Review/Submit
The last step of the application process allows you to review your information and make changes as necessary. You can click on each section to expand and view the information. Each section has a "Modify" button that will take you to that step to correct the data. You may also select the step from the left-hand navigation panel.
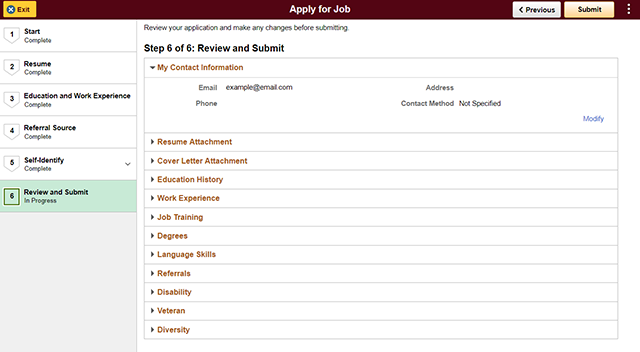
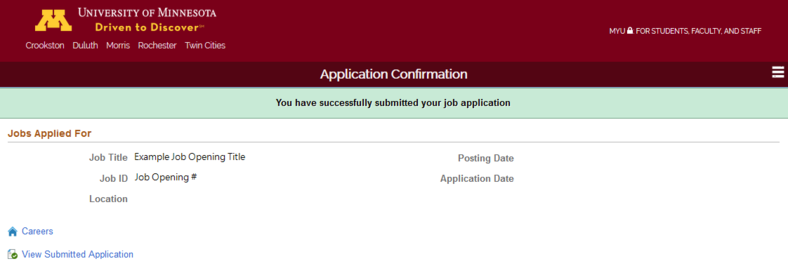
When you are finished reviewing, click the "Submit" button. You will see a confirmation message that your application has been submitted in green at the top of the screen.
Other Functions
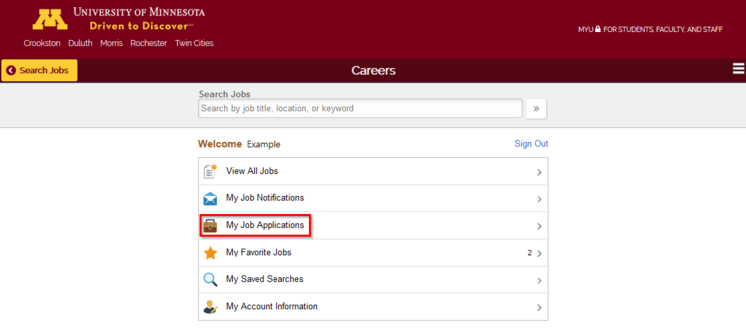
My Job Applications
The My Job Applications page shows you the applications you have submitted and the resumes, cover letters, and other documents you have uploaded. It also allows you to attach additional documents.
To navigate to his page, click on the Actions menu (it looks like three lines) in the upper right corner of your screen and select Careers.
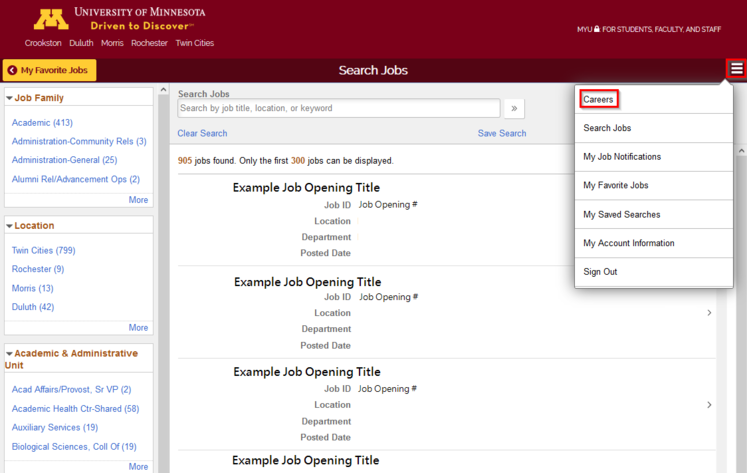
Now, on the Careers page, you will see the option to access the My Job Applications page.
To add additional attachments to your applicant account, click the "Add Attachment" button.
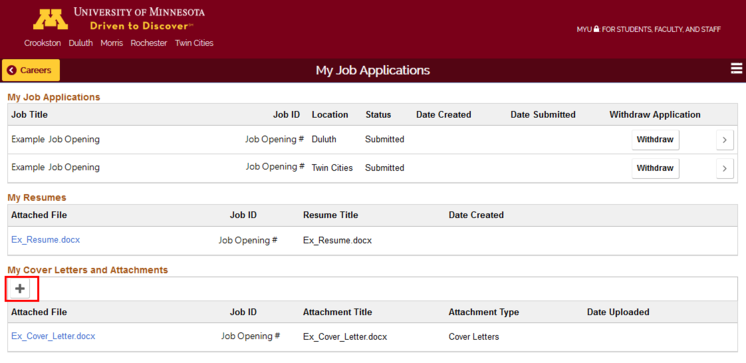
This will take you to the My Cover Letters and Attachment page, where you can upload various types of documents.
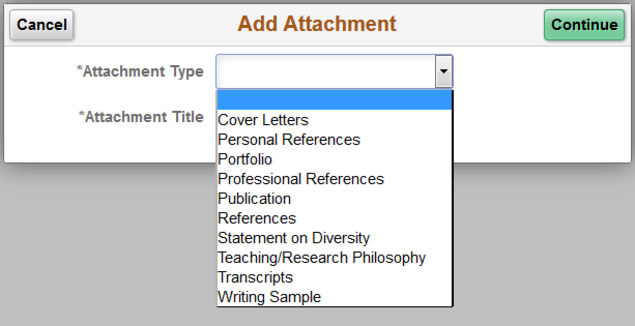
Read the application instructions on the Job Opening Details page of a specific job posting to determine if any additional documents are required for your application. The job application will only allow you to upload a cover letter and a resume in the initial application process. All other attachments must be attached here.
Attachments can be in Word, PDF, or Rich Text File.
My Job Notifications
Notifications appear when you are scheduled for an interview, have had references requested, or an offer is extended to you.
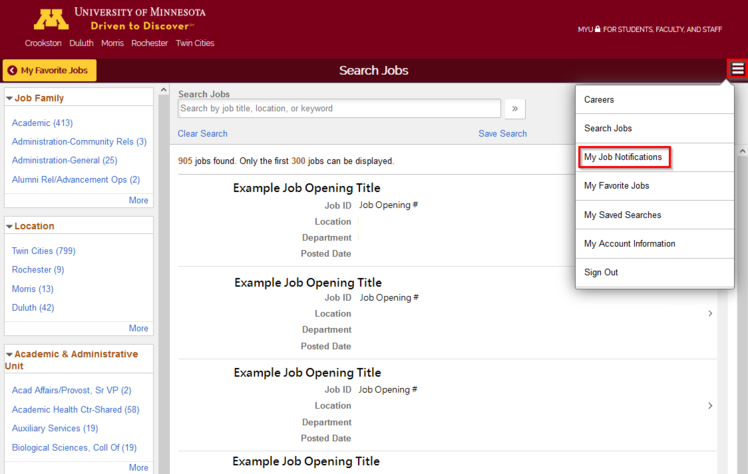
Notifications will appear on the My Job Notifications page, which you may access by clicking on the Actions menu in the upper right corner of your screen, which looks like three horizontal lines.
Then click on My Job Notifications, which will take you to the notification page. You can click or tap on the notification row to read the notification.
In this example, our applicant is scheduled for an interview:

You can click or tap on the notification row to read the notification:
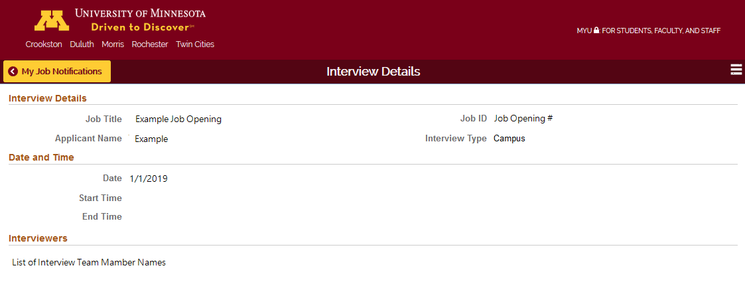
An interview notice does not prompt you to take any action, but some notifications may. For example, if you receive an online job offer you will be able to accept or reject it through the notifications page. We will walk through that later in this guide.
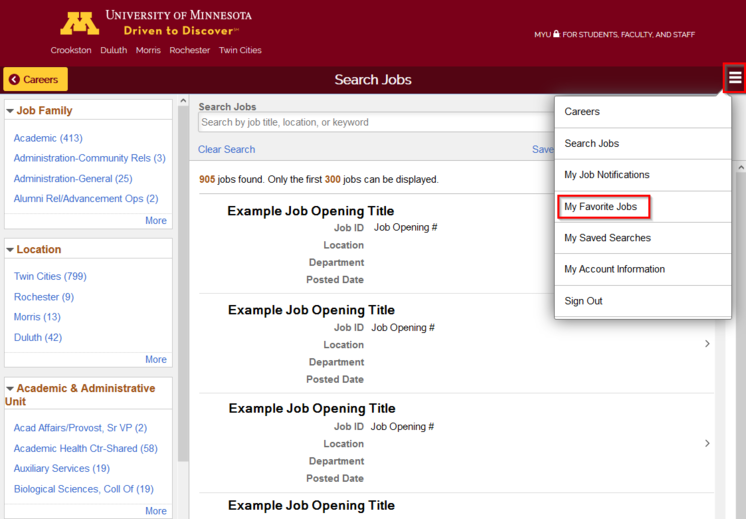
My Favorite Jobs
If you chose to save job postings from either the Job Search page or from the Job Opening Details page, you can view them on this screen. To view your saved jobs, click the Action menu button (three horizontal lines) in the upper right corner of the screen, then click My Favorite Jobs.
To remove jobs from your saved/favorite jobs, check the box before the position title you want to remove and then click "Remove Favorite."

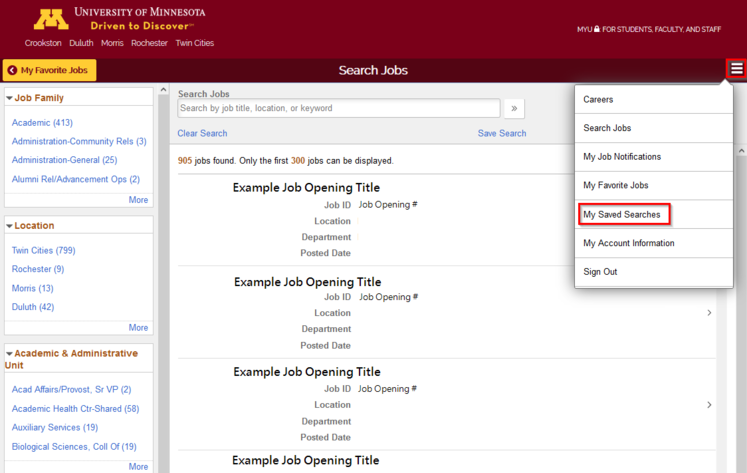
My Saved Searches
You can save search criteria as a "Saved Search" at any time. If you are interested in executive accounts specialist positions, you could search on the key words "executive accounts" and save the search. You may elect to receive notifications on a specific search, which will email you when new jobs are posted that match your search criteria.
Note that email notifications last for 180 days (approximately six months). To extend this for 180 days, you will need to save a new search.
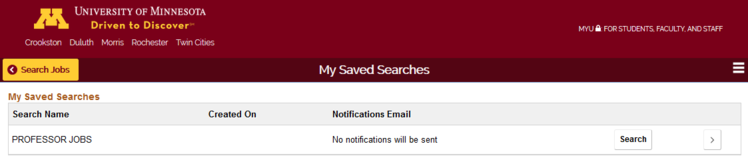
You can manage your searches from the saved search page.
You can edit, delete, or run the search from this page. For example, if you no longer want to receive notifications, you can edit the search to remove that feature.
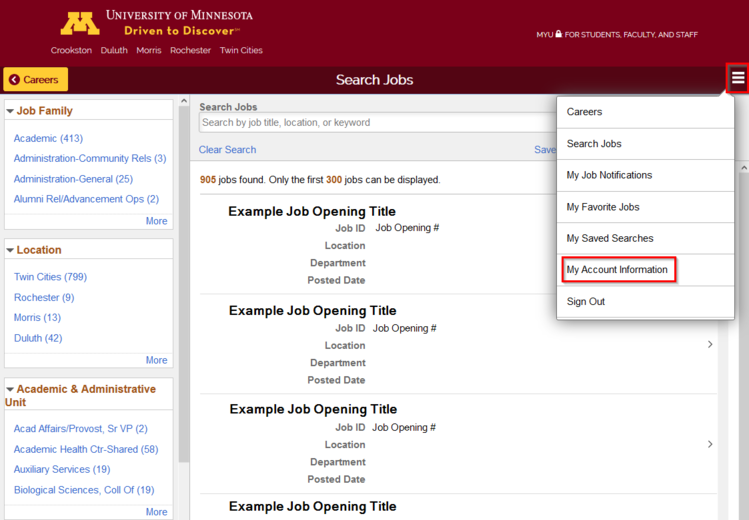
My Account Information
Your account information is where you can update your personal information and manage your applicant password.
Note: Internal applicants will update information through MyU's My Info tab, not through their applicant account.
Account information will update your personal information across all applications. When you are finished updating, click the Save button.

Forgot User Name or Password
You must have a user name and password to sign in. If you have forgotten either, you may click on the appropriate link on the sign-in page to receive instructions.
Online Job Offer
You will have the ability to view, accept, or reject job offers online. Before receiving an online offer, you will have a conversation with the hiring manager or recruiters outlining the offer details.
You will be notified by email once the offer has been posted, and the offer will appear in your notifications. You can view your offer by clicking on the Actions menu (three horizontal lines) in the upper right corner of your screen and then clicking My Job Notifications.
Note: if you have a new notification you can also see this from the Careers home page.
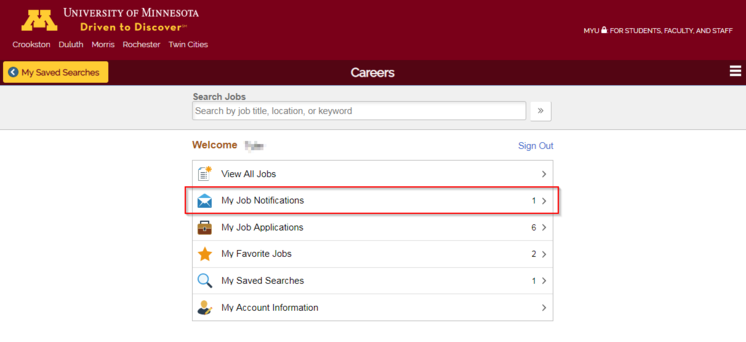
Clicking it will take you to the My Job Notifications page, which will display a menu with your current job offers. Click on the job offer row to view offer details.

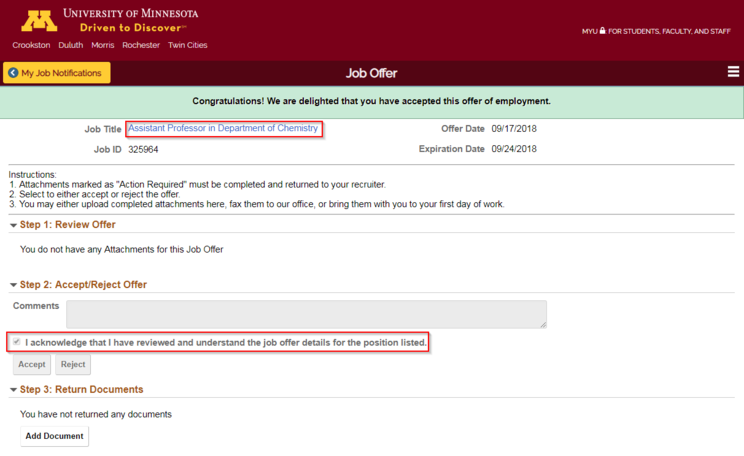
At a minimum, you will need to acknowledge that you have received the offer and then select to either accept or reject the job offer. You will not have the ability to accept until you click the acknowledgement check box.
You can view the offer letter and send documents back to the recruiter from this page.
In this example, we will simply accept the offer. Click the acknowledgment check box, then click Accept.
A page displays asking you to confirm your action:
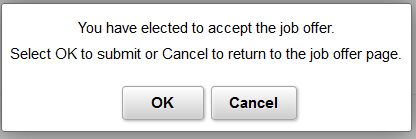
Click OK to accept the job offer. You will then receive a notification that you have accepted the offer of employment.